
zip pouches Not Working? Build a Bag System That Does
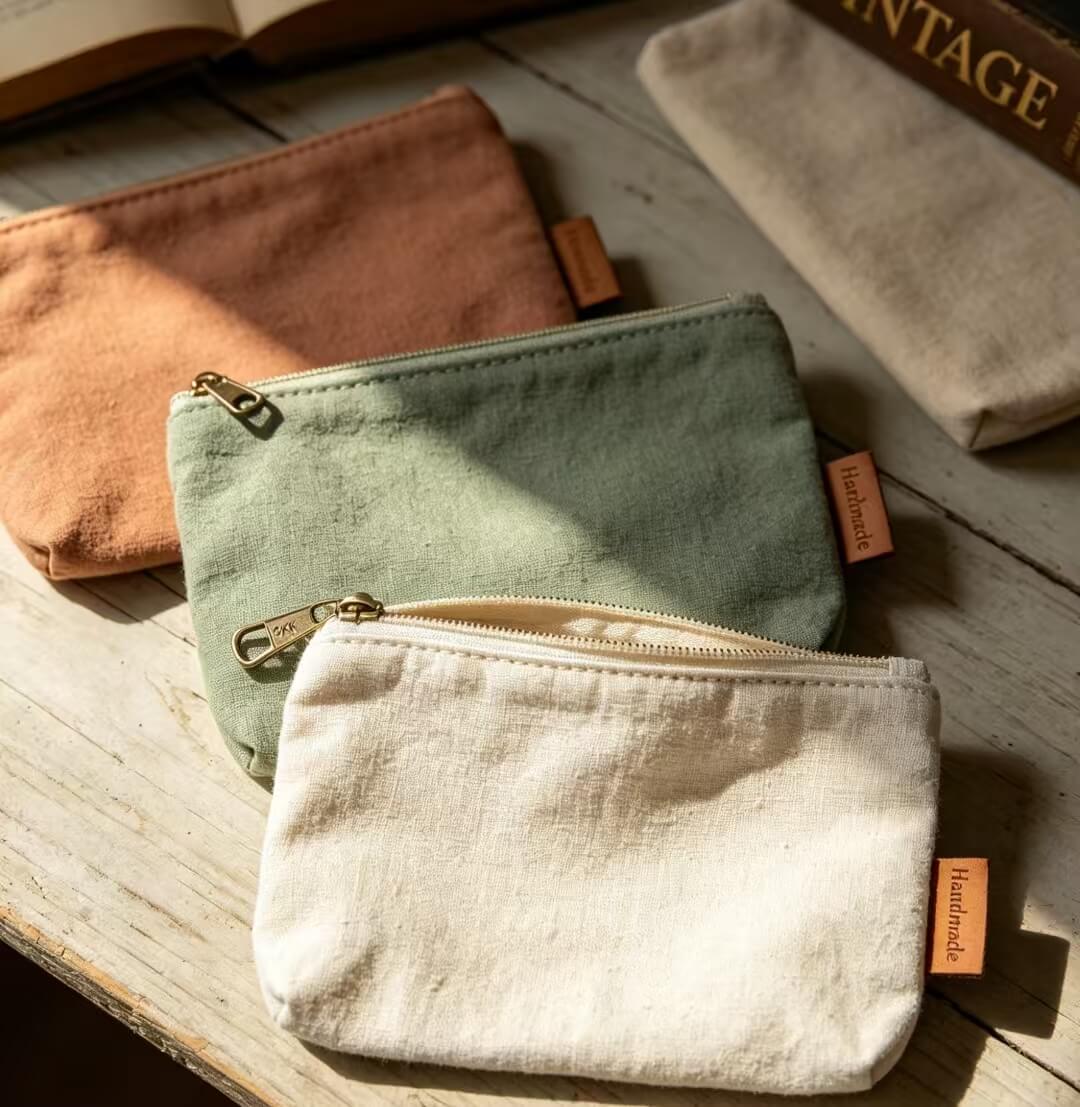
Looking for your transit card on the subway often turns into a blind search through uncapped lip balm, crushed mint crumbs, tangled charging cables, and those earbuds you clearly remember packing but somehow cannot find. Then you get home, turn your bag upside down, and watch everything spill across the table like a broken vending machine.
It is not that you are careless. Most bags are designed with one large compartment, so the only option is to throw everything in together.
Many people already have several zip pouches sitting in a drawer. They seemed useful when purchased, but they eventually became unused accessories. The issue is not the pouch itself. The real question is whether you bought a pouch or built a system.
This guide is not another list about storing pens, snacks, or bandages. Instead, it focuses on using zip pouches as modules, protector pouch as a protective barrier, and pouch clip as an anchor point. The goal is simple: no more digging through your bag during your commute, faster bag transfers, and better protection when liquids leak.
zip pouches, protector pouch, and pouch clip Essentials
Remember these three functions:
- zip pouches create sections.
- protector pouch creates separation.
- pouch clip keeps things fixed in place.
zip pouches: Three Are Enough
Do not buy too many. For daily use, three pouches are usually the ideal setup.
| Category | What Goes Inside | Recommended Shape | Placement |
|---|---|---|---|
| A Pouch · Daily Essentials | Lip balm, tissues, hand cream, mask, access card | Flat or slim profile | Interior pocket or clipped near a D-ring |
| B Pouch · Electronics & Tickets | Charging cables, adapters, earbuds, USB drives, receipts, cash | Box-bottom pouch | Upright in the center of the main compartment |
| C Pouch · Liquids & Wet Items | Travel toiletries, sunscreen, hand sanitizer, period products, spare underwear | Water-resistant lining | Bottom corner or side pocket, away from the lining |
More than three pouches usually creates confusion. Once a system becomes difficult to maintain, people stop using it and return to old habits.
protector pouch: Insurance for Your Bag
Many people stop after organizing with zip pouches . The real upgrade comes from adding a protector pouch .
In practice, this means a waterproof, wipeable pouch such as a TPU clear pouch, EVA sealed pouch, or coated nylon liner.
A protector pouch serves several specific purposes:
- Liquid protection: Any bottled liquid, such as hand sanitizer, perfume, or skincare products, should be placed inside a protector pouch. A leak can permanently stain and damage bag linings.
- Wet-item isolation: Damp swimsuits, gym towels, or wet umbrellas should never go directly into your tote bag. A protector pouch keeps moisture contained.
- Airport security: Frequent travelers can use a TSA-friendly transparent quart-size protector pouch for liquids under 100ml. Security screening becomes much faster.
pouch clip: Stop Pouches from Sinking
Even the most organized zip pouches can end up at the bottom of a tote bag.
The solution is a pouch clip. Most are lobster clasps with swivel bases that prevent twisting. Attach your most frequently used pouch to a fixed point inside the bag.
Reliable anchor points include:
- Built-in D-rings or O-rings
- Reinforced webbing loops near handles
- Metal holes in zipper pulls (light loads only)
Avoid attaching a pouch clip to:
- Decorative fabric loops
- Thin single-layer fabric tabs
For most people, only the A pouch needs a pouch clip. The B and C pouches can stay in place through their shape and position.
When switching bags, simply unclip, move the pouch clip to the new bag, and continue using the same setup. That is modular organization in practice.


Set Up zip pouches in Four Steps
Step 1: Empty Everything
Completely empty your bag.
Most people discover two things:
- Half the items are not needed every day.
- Small debris has accumulated in hidden corners.
Remove receipts, crumbs, dust, and paper scraps.
Sort everything into four groups:
- Daily essentials
- Occasional items
- Emergency items
- Items that belong at home
Step 2: Choose Three zip pouches
Pick your pouches based on your bag type before choosing colors or patterns.
| Main Bag Type | A Pouch | B Pouch | C Pouch |
|---|---|---|---|
| Medium/Large Tote | Slim pouch, 18–22cm wide | Boxy pouch that stands upright | TPU or coated lining |
| Small Crossbody or Belt Bag | Slim pouch, 15–17cm wide | Combine with A pouch or use a mini version | Compact protector pouch |
| Commuter Backpack | Slim pouch in front compartment | Boxy pouch in main compartment | Beside bottle pocket or side compartment |
A simple test:
Fill the pouch, close the zipper, and stand it upright.
If it collapses immediately, it may not perform well inside larger bags.
Step 3: Add a pouch clip
If your pouch already includes a loop or metal eyelet, attach a lobster clasp directly.
If not:
- Cut a 3–5cm strip of webbing.
- Fold and sew it securely.
- Add a small D-ring or split ring.
- Attach the pouch clip.
The rule is simple:
Your most frequently used pouch should be accessible with one hand and without searching.
Step 4: Follow Two Rules
Rule 1:
The C pouch should never sit directly against your bag lining. Use a protector pouch or place it in an exterior compartment.
Rule 2:
Every two weeks, spend one minute shaking out debris and checking zipper teeth.
Dust and small particles are one of the main causes of zipper failure.
Choosing zip pouches and protector pouch
Materials
Canvas or Cotton
- Attractive and understated
- Soft texture
- Not leak-resistant
Liquids should always be paired with a protector pouch.
Nylon (210D–500D with PU coating)
- Durable
- Lightweight
- Water-resistant
- Easy to clean
TPU or EVA Clear Pouches
- Wipeable surfaces
- Sealed edges
- Airport-friendly
- May develop visible crease marks over time
Zippers
YKK or equivalent premium zippers perform significantly better over years of use than low-cost alternatives.
Shapes
Flat Pouch
Best for:
- Cards
- Receipts
- Bandages
- Hair ties
Works well inside slip pockets and compartments.
Boxy Pouch
Best for:
- Chargers
- Hand cream
- Small bottles
Stands upright inside the main compartment.
Recommended Starter Size
If you only want to try one pouch first, start with:
- Width: 18–22cm
- Height: 12–14cm
- Gusset depth: 4–6cm
This size comfortably fits lip balm, concealer, a compact mirror, and other daily essentials without becoming bulky.
FAQ About zip pouches, protector pouch, and pouch clip
Q1: What is the difference between zip pouches and makeup bags?
A: A makeup bag describes a purpose. zip pouches describe a format. Once you assign fixed categories, add a pouch clip , and use a protector pouch , the pouch becomes a functional drawer inside your bag.
Q2: When do I really need a protector pouch?
A: Any time you carry liquids, wet wipes, or damp items. A protector pouch protects your bag from accidental leaks and moisture.
Q3: Can a pouch clip damage my bag?
A: Low-quality hardware can. Choose a well-finished lobster clasp and attach it only to reinforced loops or D-rings.
Q4: What if my bag does not have a D-ring for a pouch clip?
A: You can attach a pouch clip to a zipper pull hole, a handle webbing loop, or simply use structured zip pouches that stay in position on their own.
Q5: Do three zip pouches waste space?
A: Usually the opposite. Loose items create wasted gaps and become tangled. Organized zip pouches often use space more efficiently.
Q6: Should liquid containers be protected by two layers of protector pouch?
A: With fabric linings and inexpensive travel bottles, double protection is often a smart precaution. Replacing a protector pouch is much easier than repairing a stained lining.
Q7: How do I clean a protector pouch?
A: Wipe it with warm water and mild soap, rinse with a clean cloth, and air dry. Avoid direct sunlight, especially for TPU and PVC materials.
Q8: Which items should go into a transparent protector pouch when flying?
A: Liquids, gels, and sprays under 100ml should go into a clear quart-size protector pouch . Solid items can remain in regular zip pouches .
Q9: Is it difficult to add a D-ring and pouch clip to zip pouches?
A: Not at all. Sew a short webbing loop onto the side seam, add a D-ring, and attach the pouch clip. Just make sure the stitching is reinforced.
Q10: How can I use zip pouches in a very small crossbody bag?
A: Keep the system smaller, not simpler. Use a slim A pouch for lip balm, cards, and tissues. Add a mini protector pouch for liquids. Combine other categories when necessary. Even one slim pouch and one protective layer work far better than tossing everything into the bag loose.
music tote bag for concerts FAQ
Can a bookstore bag Really Carry Books?
Related Article


